Tuesday, August 26, 2014

Fresh Made Baguette


Fresh Made Baguette

There are not too many things that smell better than fresh bread- especially when it comes from your own oven. Next time you are at the store, take a look at all the ingredients put into their "fresh" bread that they sell you. Then, take a look at how few ingredients and little time are needed to make bread that tastes better and is better for you. This bread has only 5 ingredients necessary to make it. This is a very simple recipe that you could add spices to depending on what you are serving it with that day. 

Trust me- the smell alone makes this bread worth it! 

Fresh Made Baguette

STEP ONE: In a bowl (small), mix your warm water with the sugar and yeast. 


Set is aside for 5 minutes. It will begin to foam on the top. 

STEP TWO: In a large bowl, mix together the flour and salt. Slowly, add the yeast mixture. 


Use a stand mixer with a dough hook and mix until the dough becomes a ball (about 5 minutes). 


STEP THREE: Shape into a baguette. Place it onto a lightly greased cookie sheet. Cover it and let it rise for 30 minutes. (I used saran wrap to cover my dough). 


STEP FOUR: Look how much bigger the dough has become! Remove the cover. Use a serrated knife to make a line down the middle of the baguette. 

STEP FIVE: Preheat oven to 450 degrees. Pour water into a separate cookie sheet/or some kind of pan. Place this pan in the bottom rack of your oven (The steam will help the bread be crisp!) 

STEP SIX: Place the dough onto the top rack and let cook for 13-15 minutes. 


Enjoy with pasta, soup or any other meal! 

Ingredients:

3/4 Cups Warm Water
2 teaspoons dry yeast
1 teaspoon sugar
1 1/2 Cups plus 2 Tablespoons flour
1 teaspoon salt. 

Monday, August 25, 2014

Crockpot Vegetable Noodle Soup


Crockpot Vegetable Noodle Soup

Wyoming has officially decided as of August 24th that summer was finished and fall has arrived. It was 40 degrees this past weekend...brrrr! Along with this cold weather~ comes my desire to make homemade soup! 

Our local Farmer's Market braved the chilly weather and set up shop. One stand was selling fresh carrots that were just calling out to be made into a soup! I bought a dozen and decided to craft a soup around them. And because weekends are always so hectic, I decided to plan one that could easily be made in your crockpot. 

I am a lover of the crockpot/slow cookers. You can throw in your ingredients in the morning, turn it on and your house smells wonderful by the time you walk into the door at night. I joke that a slow cooker can make anyone into a gourmet chef. I use my parent's old crockpot. It was given to them as a wedding gift, and it still works like new! 

One tip for those who work and think they are too busy to get all the ingredients together in the morning- put all your ingredients in the night before. Put the insert of the slow cooker in the fridge- then in the morning- pull it out and put it back into the cooker of the crockpot and turn it on. No morning prep time! 

Now onto the soup:

Crockpot Vegetable Noodle Soup


STEP ONE
: Dice up carrots, onion and celery. Place all into the crockpot. Your cuts of vegetables do not need to be perfect- mismatched work great in a soup!


STEP TWO: Mince garlic cloves. Place into the crockpot. 

STEP THREE: Throw in bay leaves, thyme, pepper, salt. 

STEP FOUR: Add chicken broth and water and give it a good stir. 
 There is my beauty of a crockpot! Still works great!


STEP FIVE: Turn on crockpot. Low (8-10hours) or High (4-5 hours). Do not worry about overcooking this as there is a lot of liquid in it. 

STEP SIX: 20 minutes before you are finished cooking, dump your egg noodles into the soup and give it a good stir to mix all together. Continue cooking for 20 minutes (can be on either high or low). 

STEP SEVEN: Remove bay leaves. Ladle into bowls and enjoy all the tasty and fresh veggies! Top with fresh parsley if you like!

Try this soup with a homemade baguette! Recipe in the link below! 
http://livingthelifeoflinz.blogspot.com/2014/08/fresh-made-baguette.html


INGREDIENTS
3 Cups Carrots- diced
2 Cups Celery- diced (was about 3 stalks for me)
1 Yellow Onion- diced
3 Cloves Garlic- minced
2 Bay Leaves                       
1/2 teaspoon dried thyme
4 teaspoons salt
1/2 teaspoon pepper
4 Cups Chicken or Vegetable Broth
5 Cups Water
3 Cups Egg Noodles
Fresh Parsley as a topping 

Friday, August 8, 2014

Fresh Picked Huckleberry- Muffins

Fresh Picked Huckleberry Muffins

Last weekend, I took a trip home to Jackson Hole and went hiking with my Dad around Jenny Lake. One thing I had never done before was going huckleberry hunting and so off we went. 
There were huckleberry bushes along the whole path around lake. 
And we were not the only ones who were hunting for huckleberries....


We saw two bears along the path, and they were munching on huckleberries the whole time. 

After we had picked all the berries we could fit in our bag, we made our way home and decided to make fresh huckleberry muffins! 

If you have no plans for the weekend yet, head outside and gather your own bag of fresh huckleberries. It is the perfect time of year and the weather is beautiful. 

STEP ONE: Preheat your oven to 400 degrees and line a 12 cup muffin tray with paper cups. 


STEP TWO: Mix the flour, baking powder, salt and your fresh picked huckleberries in a large bowl. 

STEP THREE: In a medium size bowl, mix together the eggs, milk, sugar, butter and vanilla. 


STEP FOUR: Add your dry ingredients into the wet ingredients. Only stir until combined so you do not squish the berries. 


STEP FIVE: Divide your tasty batter among the 12 muffin cup liners. 

STEP SIX: Bake for 15 minutes and enjoy every bite!  Yum Yum Yum! 

Ingredients
2 Cups Flour
1 Tablespoon Baking Powder
1/2 teaspoon salt
1 1/2 Cups Huckleberries
2 Eggs
1 Cup Milk
2/3 Cup Sugar
4 Tablespoons Melted Butter
1 teaspoon Vanilla

See original recipe at: http://breakfast.food.com/recipe/20-minute-huckleberry-muffins-240747


Tuesday, August 5, 2014

Cheesy Cauliflower Casserole


CHEESY CAULIFLOWER CASSEROLE


This is a quick and healthy meal that can be thrown together quickly on a week night. You will be surprised how tasty this dinner is. This is a favorite meal in our house. 

The secret to this meal is the Gruyere cheese. Tasty Tasty Tasty

STEP ONE: Preheat your oven to 375 degrees. 


STEP TWO: Take your head of cauliflower and cut it into bit size florets. 


STEP THREE: Bring a large pot of salted water to a boil. Add the cauliflower and cook them for 5 minutes. When it is finished cooking, drain them and set aside. 


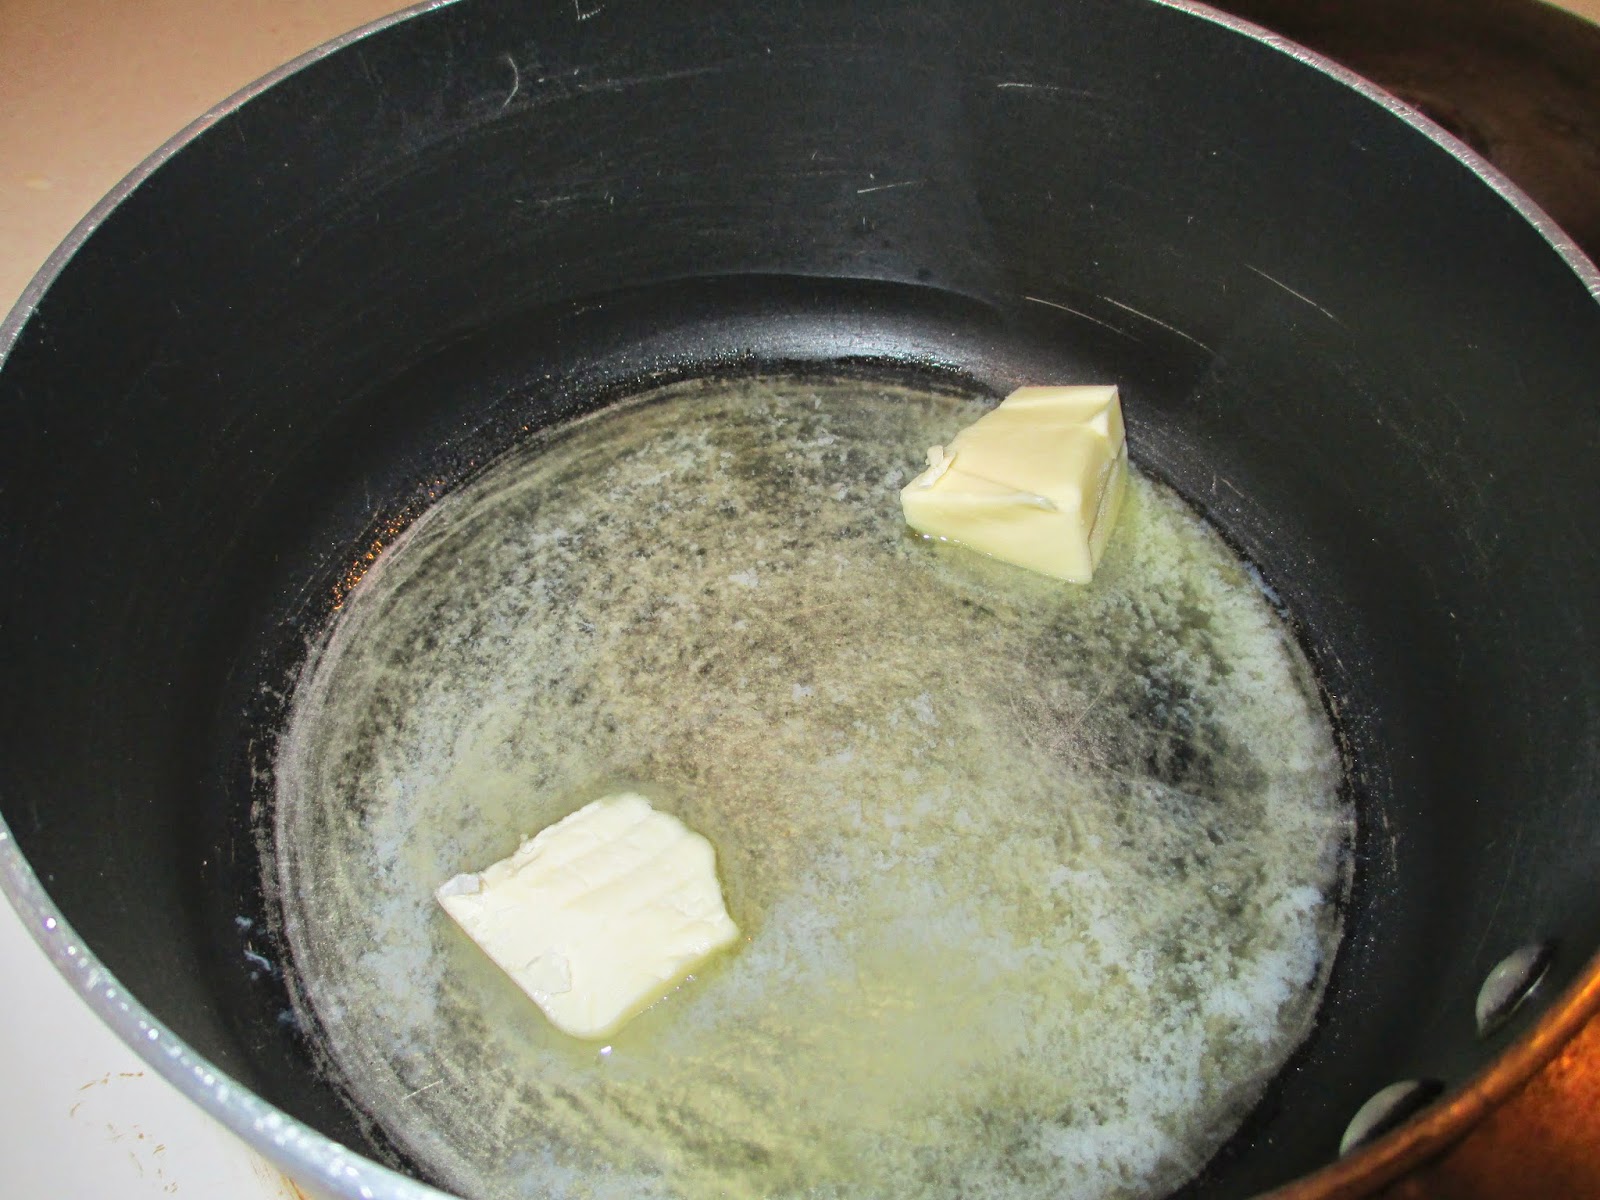
STEP FOUR: Take 2 Tablespoons of butter and melt over medium high heat in a medium pot. 

STEP FIVE: When the butter has melted, whisk in 3 Tablespoons of flour. Whisk constantly until combined.


STEP SIX: Whisk in the milk. I used almond milk because that is what I had on hand, but any kind of milk should work just fine. Keep the stovetop on medium high and bring the milk to a boil. Boil for one minute. 


STEP SEVEN: Take the pot off the heat and mix in the Gruyere cheese, dijon mustard, garlic powder and cinnamon. Mix in salt and pepper according to your taste. 


STEP EIGHT: Grease your 9 x 9 pan. Put your cook florets into the bottom of the pan. 


STEP NINE: Pour your cheesy sauce over the florets. Sprinkle the parmesan cheese over top. 

Sprinkle pepper over top of the cheese. 


STEP TEN: Bake for 10-12 minutes and Enjoy! 


Ingredients:
1 Head of Cauliflower
2 T butter
3 T flour (*Note: If you cannot have flour- you could omit from the recipe. The cheese you mix in should thicken the sauce up enough!) 
2 Cups Milk (I used almond milk, but any type should work)
1/8 t Cinnamon
1 t Garlic Powder
1 t Dijon Mustard
8 oz of Gruyere Cheese- shredded
4 oz Parmesan Cheese- shredded
Salt and Pepper to taste

Please visit original recipe at: http://www.goodlifeeats.com/2014/01/cheesy-spiced-cauliflower-gratin.html